GUI Validator Key Generation
This section will cover the setup of the Validator keys using the LUKSO Wagyu Key Gen tool.
What is Wagyu
Wagyu is a tool that aims to simplify the process of staking Ethereum-based blockchains. It provides a user-friendly graphical interface that guides users through the process.
On the other hand, you could also choose to generate deposit keys using the LUKSO Key Gen CLI tool.
Download the Software
The following steps will be performed on your personal computer, and prepare the files for Linux 22.04.2 Desktop. If you use another operating system to generate keys, use the DMG (Mac) or EXE (Windows) files instead.
- Visit the official release page
- Download the App Image file of the latest release
On creation of this guide, the current version is
1.8.2
Prepare USB Device
- Connect a USB device
- Flash it using the disk utility tool
- Copy the Appimage onto the disk
- Eject USB disk
Connect on Keygen Computer
- Connect the USB device
- Copy the App Image to your home directory
Generate the Initial Keys
Now we can start the application to generate our keys with a graphical interface. Open the explorer in your home directory and execute the LUKSO Wagyu Keygen Application.
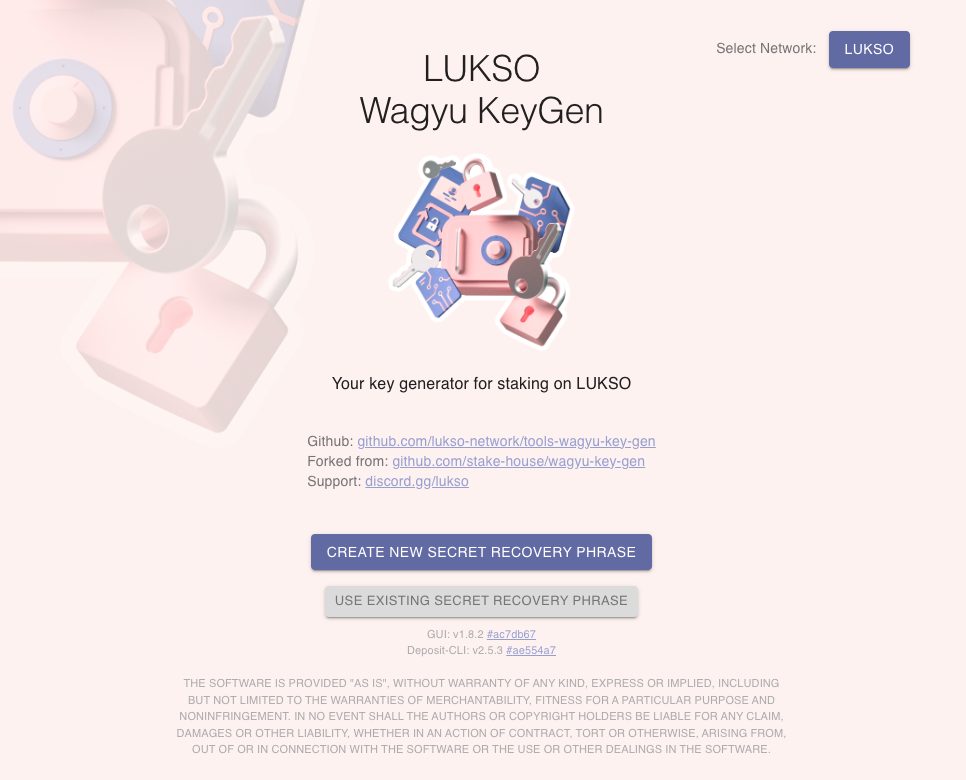
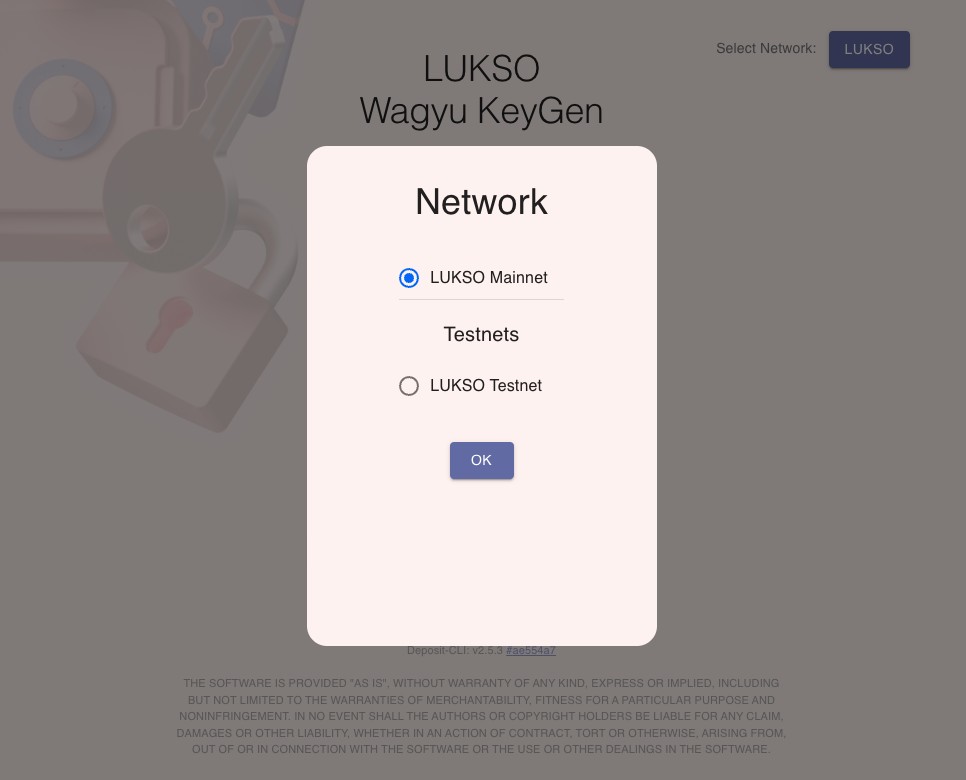
In the upper right, choose between testnet and mainnet by clicking the LUKSO button.
Select CREATE NEW SECRET RECOVERY PHRASE
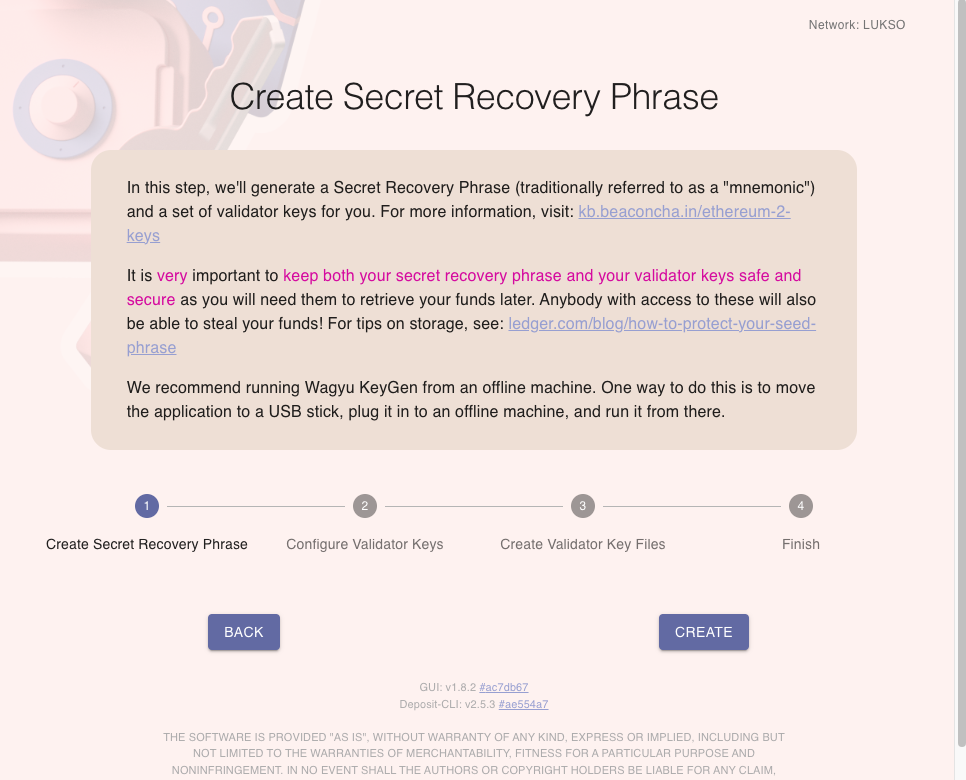
Carefully read the text and check out the links. Then click CREATE to generate a new mnemonic like this one:
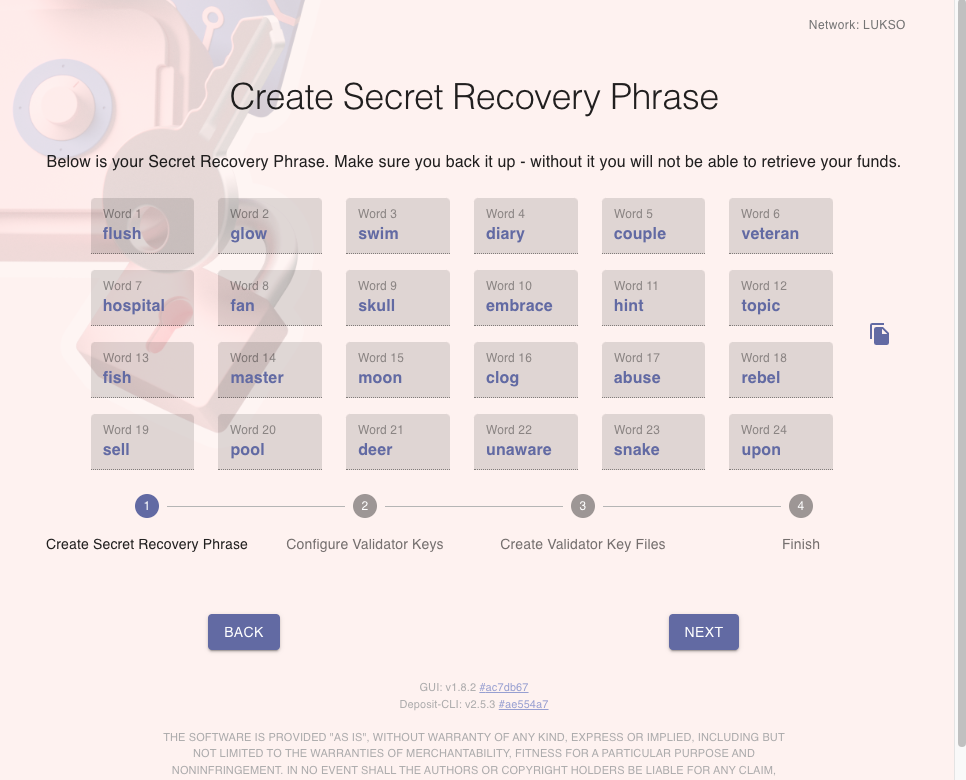
Please write it down on paper and ensure it is backed up safely. Do not save this as a plain text file anywhere digitally. You will be responsible for keeping the seed phrase secure. Please do not share it with anyone. Anyone that gains access to the mnemonic can control your deposits or slash you.
The mnemonic seed phrase is the backup for your validator deposit keys. If you want to create additional validator keys and re-create your initial ones, you will need the mnemonic.
Click NEXT to retype your saved mnemonic seed.
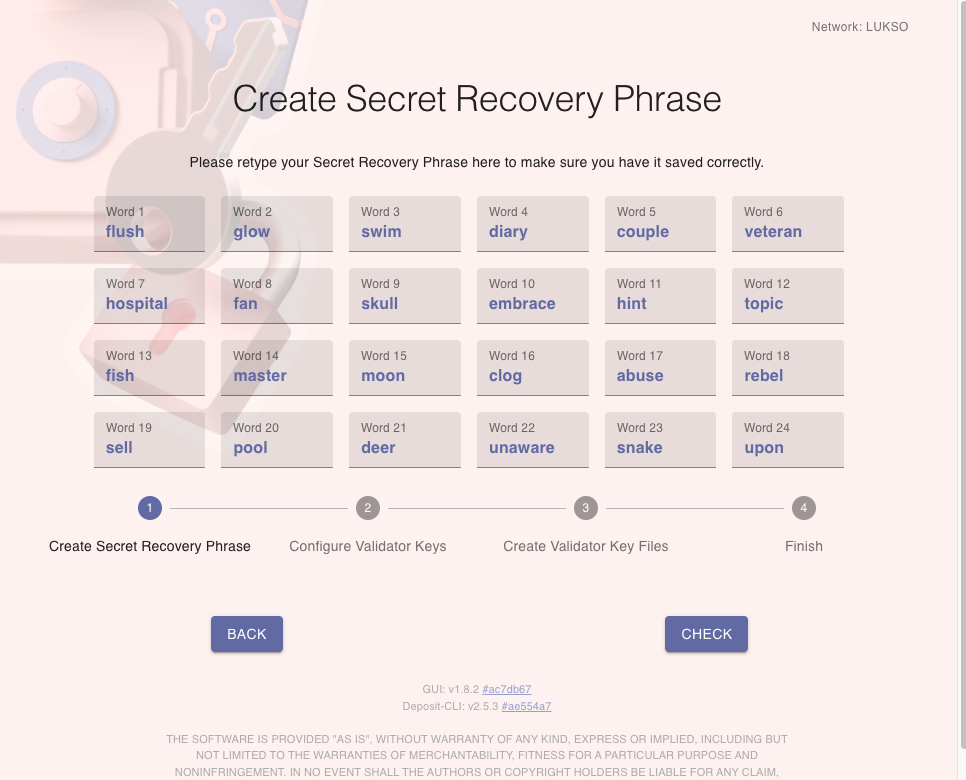
Continue clicking on CHECK.
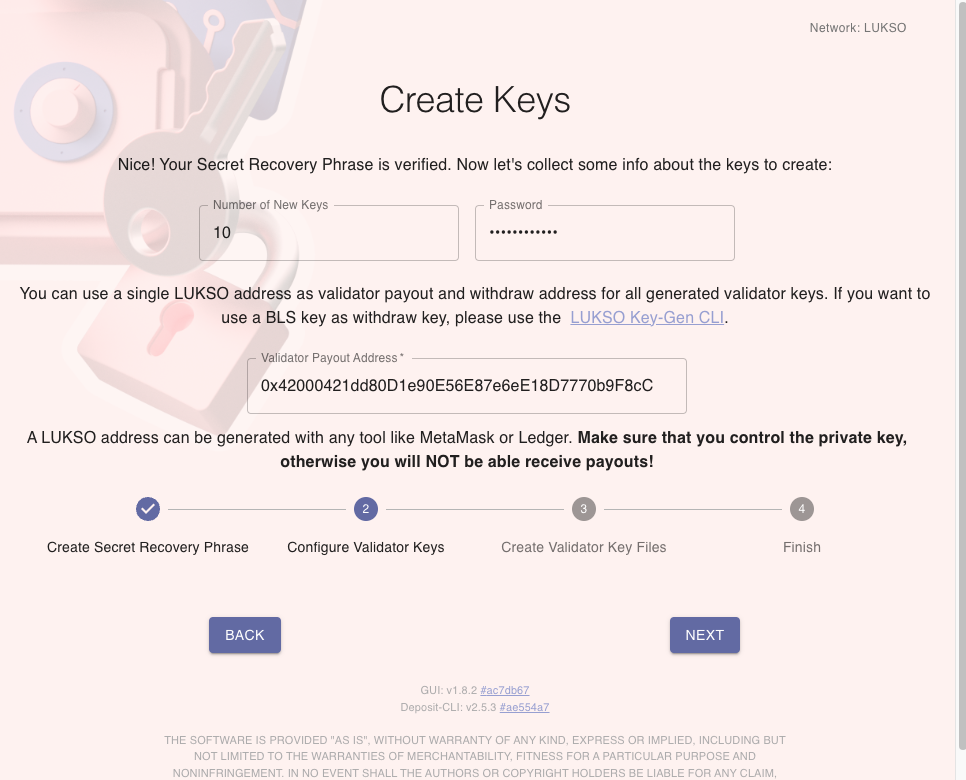
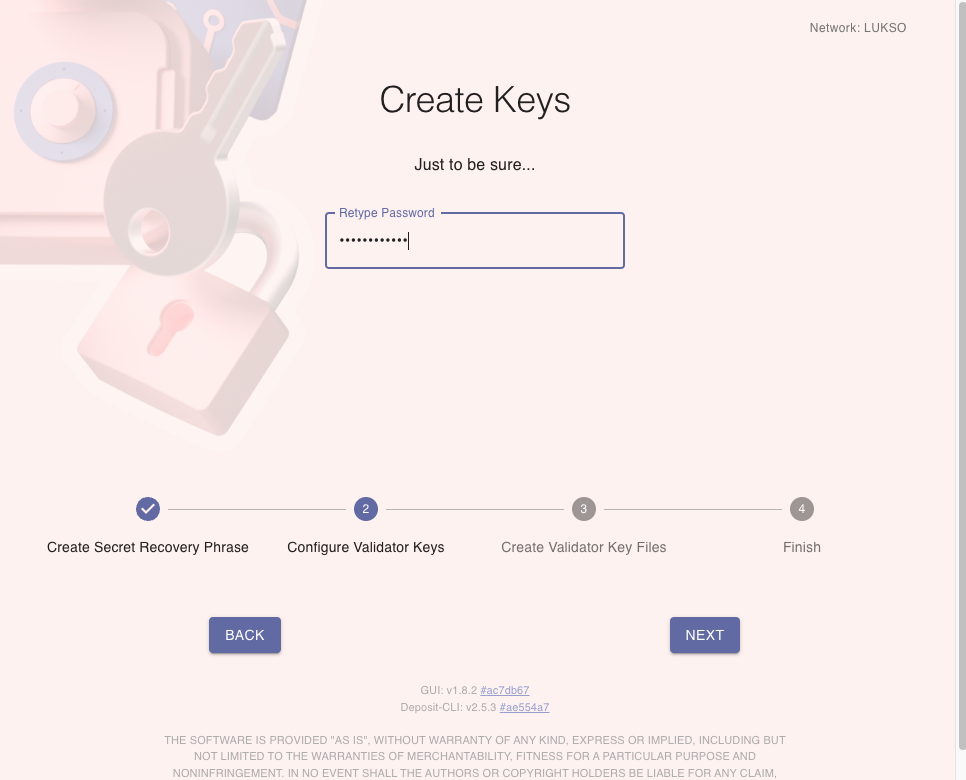
You will have to provide the number of new keys to generate, your password that will be used for encrypting the deposit keys you generate and your withdrawal address for all the keys. You can read more about the withdrawal address within the Earnings & Withdrawals section of the guide.
Then click NEXT to continue.
You can generate more keys than you want to fund now. These will spin up in idle mode and won't be activated until they have enough funds.
Split Deposits to multiple Wallets
In case you have multiple wallets to make deposits from, you could either:
- Generate batches with the same seed. Therefore create the keys for the first wallet now and redo the process by importing an existing mnemonic seed phrase afterward. This way, you will have multiple
deposit_data.jsonfiles for each wallet. For instance, if you have 30 validators and 3 different wallets with 320 LYXe/LYX each, create 10 validators each using the same seed or withdrawal address. In the first run, specify you want to generate 10 keys from a new seed phrase. In the second run, tell the generation tool that you already have 10 keys. In the 3rd run, set you already have 20 keys, and generate the last 10. You will end up with 3 different folders that may also have different passwords and withdrawal addresses. - Modify the deposit file after you generate your total keys in one folder. Here, create duplicates of the
deposit_data.jsonfile. Open it using a JSON Editor and remove as manypubkeyelements as possible. For instance: if you have 30 validators and 3 different wallets with 320 LYXe/LYX each, generate 30 validators in one go. Afterward, make 3 copies of the deposit file. In the 1st copy, delete everything after your 10thpubkey(validators 1-10). In the 2nd copy, delete the first and last 10pubkeyelements (validators 11-20). In the 3rd copy, delete the first 20pubkeyelements (validators 21-30.) You will end up with one folder but 3 deposit files, each having a different subsection of the generated keys that were generated in total. There is an in-detail description in the Validator Staking section.
If your wallets have different amounts of LYXt, LYXe, or LYX, adjust the
pubkeyelements, and validator amounts accordingly to match the coins you hold.
In both cases, you will have to go through the launchpad process 3 times, as the launchpad will check if your wallets have enough balance before you can continue to the deposit screen.
If you only want to create deposits from one wallet, just run through the process once.
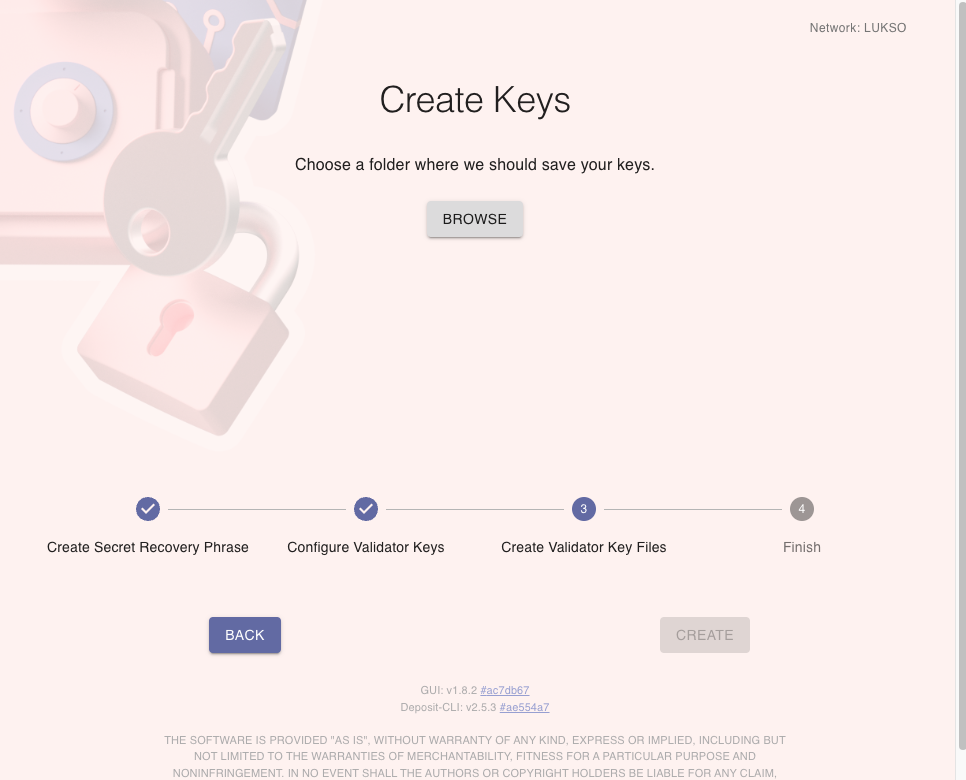
Click on BROWSE to specify the folder that will be used to generate the files. Afterward, click CREATE to generate your keys.
Wait for all the keys to be generated.
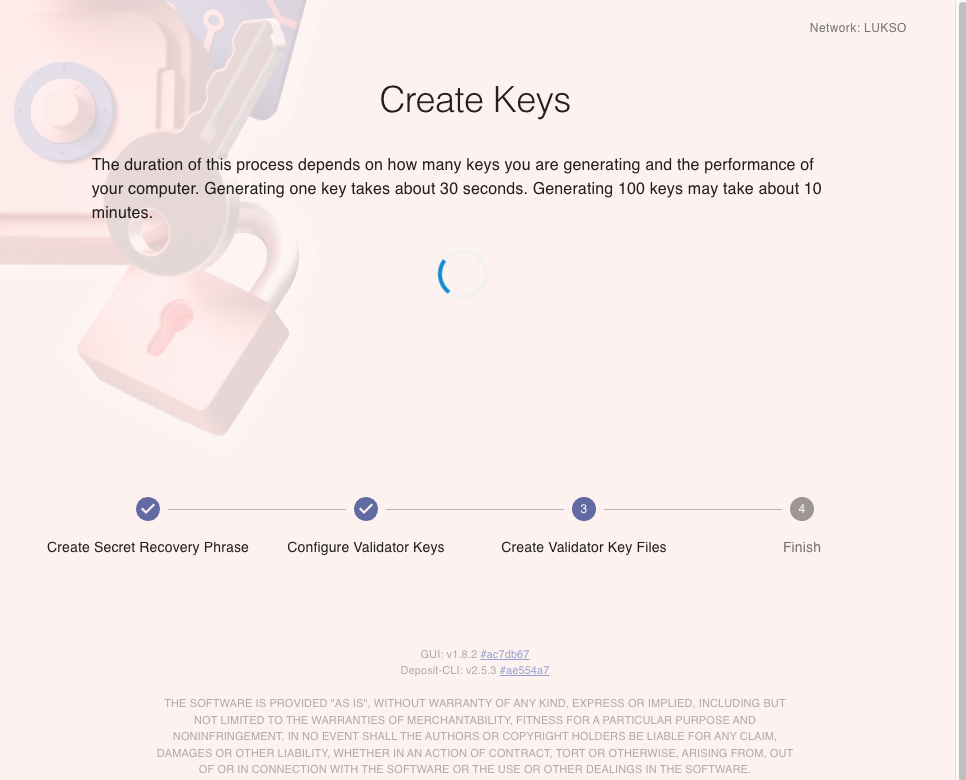
The final screen will be shown after the process has been finished:
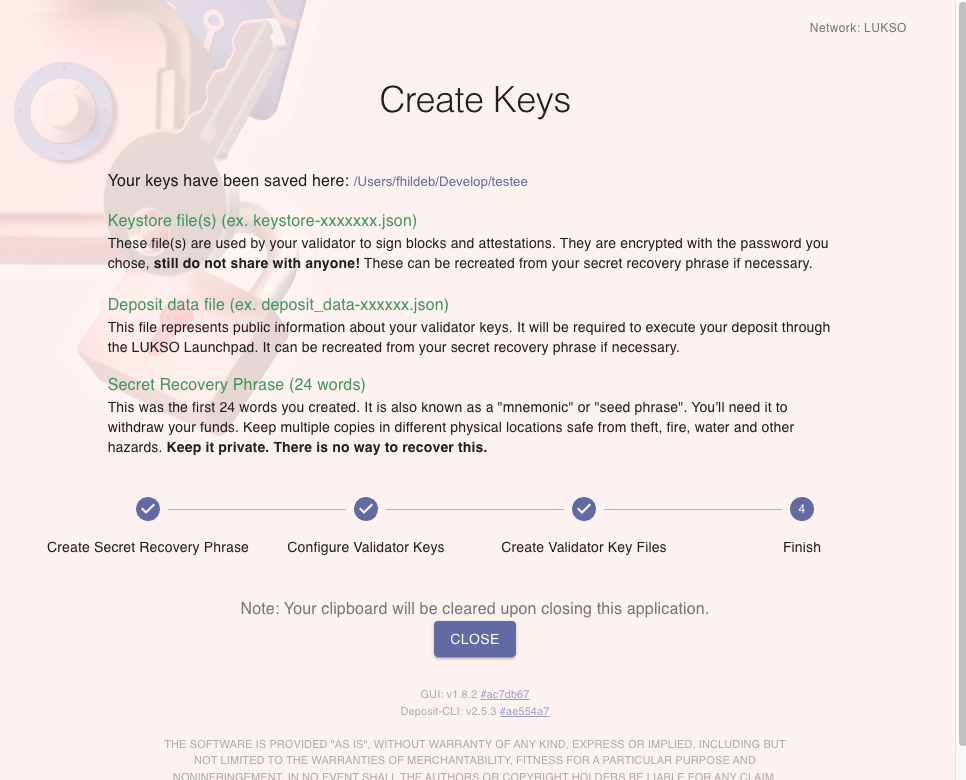
Check out the files in your folder. You should have two types of files:
deposit_data.json: The file you will use to make deposit transactions to activate the keys. You must use this file during the Deposit Launchpad process.keystore.json: One keystore file for every validator key you generated. Those files must be imported into your node as described in the Validator Setup section.
Generate Additional Keys
If you want to add keys to your validator, click USE EXISTING SECRET RECOVERY PHRASE on the starting screen. You will be prompted to select the correct network afterward.

Enter your validator seed again and press IMPORT to start the importing process.
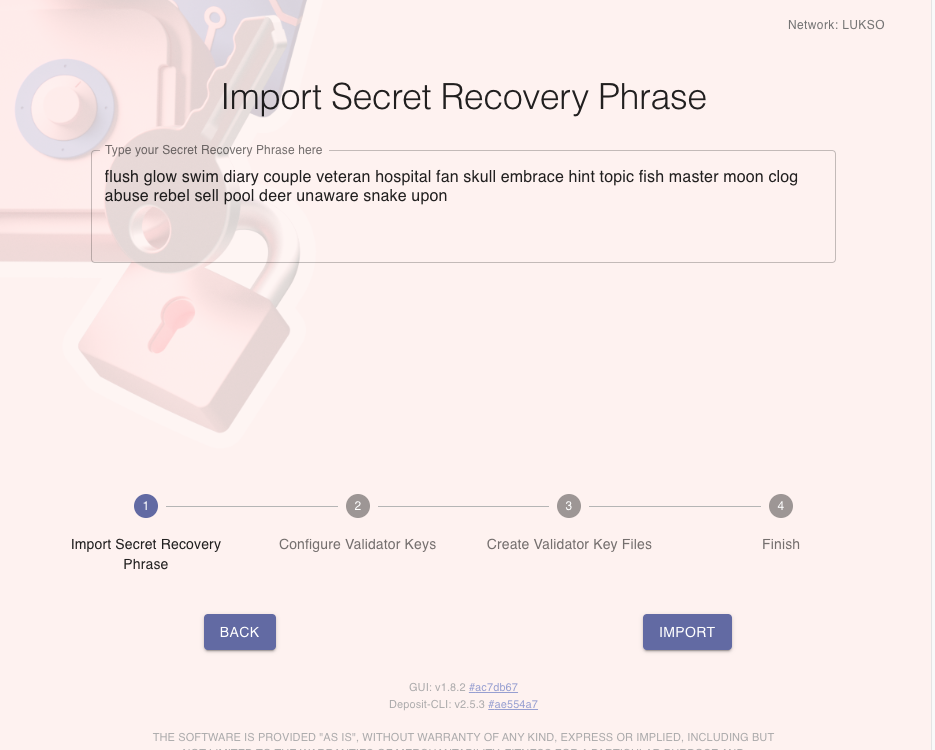
Now choose the number of keys you want to create for this validator and how many keys you already got in another folder. Also, define your withdrawal address for all the additional keys. You can read more about the withdrawal address within the Earnings & Withdrawals section of the guide.
If you want to create a folder with all the keys again, you can select 0 for the number of existing keys (starting index) and the total amount of all your deposit keys as the number of keys to create. Starting from 0 will recreate all your keys for the validator. It's handy if you need to update the withdrawal address before depositing or if you have to reset the validator passwords.
If you use it as a backup, use the same withdrawal address as you did on the initial generation process of the keys.
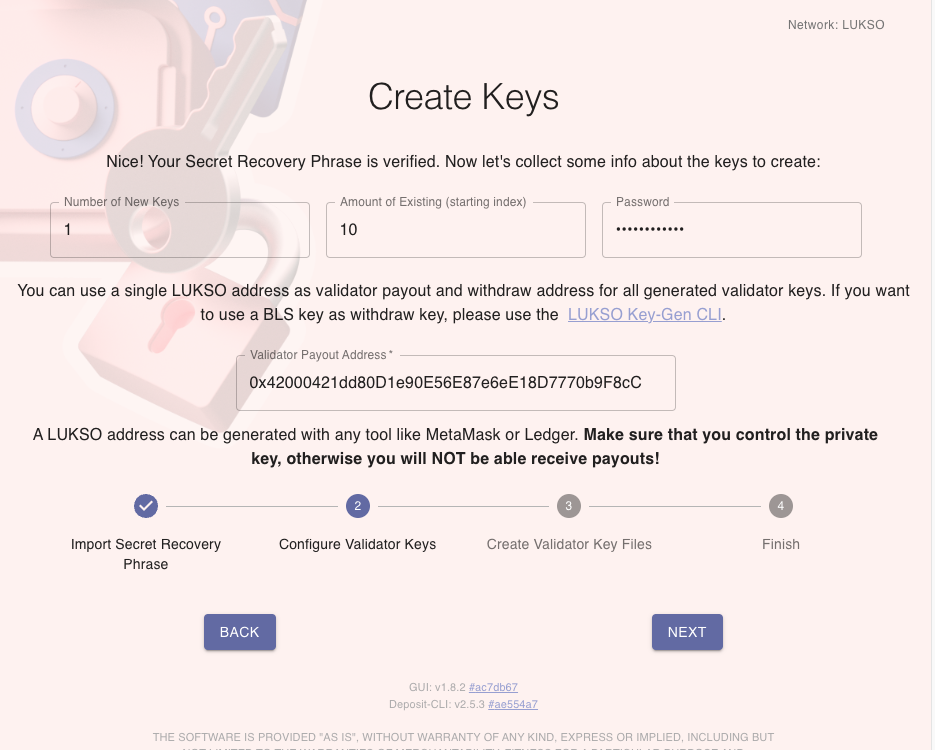
Afterward, continue with the regular setup as before. Input your password, and select the folder in which the new deposit:data.json and keygen.json files will be stored.
